
Our Blogs
Crack-Free Tile Floors: The Ultimate Installation Guide
When it comes to tiling, nothing ruins the beauty of your new floor faster than cracks. Whether you’re planning a DIY project or just want to ensure the pros do it right, knowing the steps to avoid these common issues is crucial. At Carpet Connection, we’re all about helping homeowners achieve professional results, so here’s a friendly guide to ensure your tile floors stay crack-free for years to come!
Preparing for Success: Essential Pre-Installation Steps
Before you even think about laying down tiles, setting a strong foundation is key. It’s like building a house—you wouldn’t start putting up walls until the foundation is solid.
Choosing the Right Tile and Materials
First things first: not all tiles are created equal. The type of tile you choose should fit your space and lifestyle. Porcelain and ceramic are popular choices, but each has unique benefits. Porcelain tiles are denser and better for high-traffic areas, while ceramic offers more versatility in design.
It’s not just about the tiles themselves—you’ll also need high-quality grout and mortar. Thinset mortar is the go-to adhesive, but make sure it’s mixed to the right consistency. When it comes to grout, consider whether you need sanded or unsanded based on the width of your joints.
Proper Subfloor Preparation
One of the biggest mistakes people make is neglecting the subfloor. A stable, level subfloor is essential to prevent cracking. Start by inspecting the subfloor for any dips or damage. If it’s uneven, self-leveling compounds can work wonders. For wood subfloors, adding an underlayment can help smooth out minor imperfections and provide extra stability.
Don’t forget about moisture protection, especially if you’re tiling in areas like bathrooms or basements. Moisture barriers and underlayment are your best friends here, keeping water from wreaking havoc under your tiles.
Installation Techniques: The Professional Way to Avoid Cracks
With your prep work done, it’s time to focus on the installation itself. Following the right techniques is what separates a durable, long-lasting tile floor from one riddled with cracks and issues.
Importance of Proper Spacing and Layout
Before you start slapping down tiles, take the time to plan your layout. A dry run lets you see how the tiles fit and where cuts are needed. This step also helps you spot any tricky areas where alignment might be a challenge.
Consistency is key when it comes to grout lines. Using tile spacers ensures even spacing and keeps your layout neat. One often-overlooked detail is expansion joints. These small gaps between tiles and walls allow for natural movement due to temperature changes, reducing the risk of cracking.
Applying the Mortar and Setting the Tiles
Mixing the thinset mortar properly is crucial. Too runny, and it won’t hold the tiles; too thick, and it’s a nightmare to work with. Aim for a peanut butter-like consistency. When spreading mortar, use a notched trowel and apply even pressure. For larger tiles, “back-buttering” (applying mortar to the back of the tile) helps ensure full coverage, reducing air pockets that can lead to cracks.
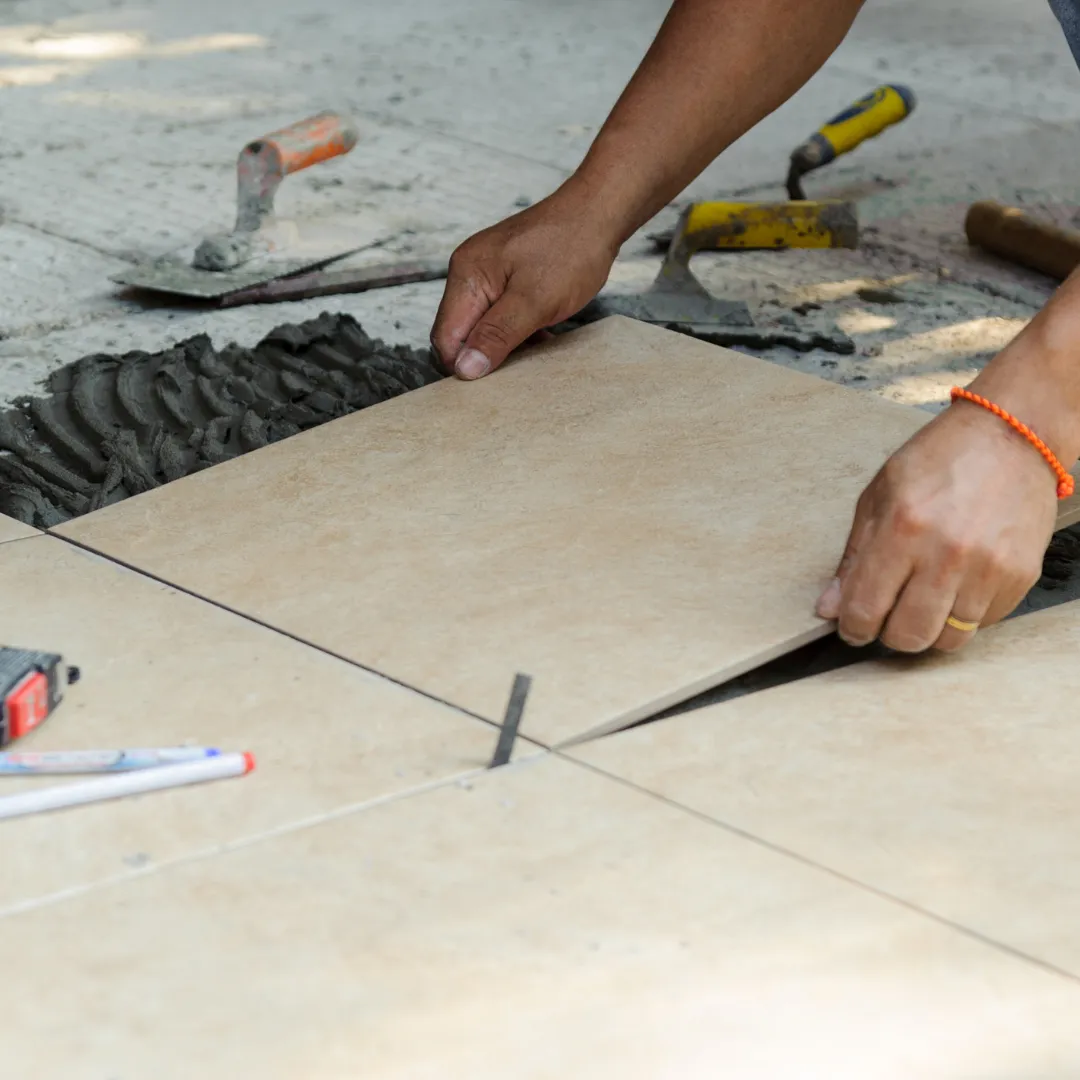
Proper Tile Placement and Leveling
Setting tiles might seem straightforward, but there’s a technique to it. Lay each tile into the mortar, giving it a slight wiggle to ensure a good bond. To prevent “lippage” (when one tile edge is higher than the adjacent tile), a leveling system can be a lifesaver. These systems use clips and wedges to keep tiles even during the curing process, resulting in a smooth, flat surface.
Grouting and Finishing Touches
Now that your tiles are securely in place, it’s time to grout and finish strong. These final steps are essential for a polished, professional result.
Choosing the Right Grout and Sealer
Grout does more than just fill gaps—it also adds to the floor’s strength. For wider joints, go with sanded grout, which has extra durability. Unsanded grout is better for thinner joints and delicate tiles like marble. Once your grout is in, a sealer is vital to protect it from moisture and stains. Sealed grout not only lasts longer but also stays cleaner, which is always a win!
Grouting Techniques for Long-Lasting Results
When applying grout, work it into the joints using a rubber float. Make sure there are no gaps or air pockets, as these weaken the floor’s integrity. Once the joints are filled, use a damp sponge to smooth the lines and remove excess grout. Take your time here—a clean finish makes all the difference in the final look.
Allowing for Curing Time and Final Inspection
Patience pays off in the world of tiling. Give the floor enough time to cure fully before walking on it. For most installations, 24 to 48 hours is recommended. After the curing period, do a thorough inspection. Look for any uneven tiles or gaps that could cause issues down the road. Addressing these now can save you headaches later.
Common Pitfalls and How to Avoid Them
Even with the best intentions, a few common mistakes can lead to cracking issues. Here’s what to watch out for.
Poor Subfloor Preparation
As we mentioned earlier, neglecting the subfloor is a recipe for disaster. If the subfloor isn’t properly leveled or stabilized, it’s only a matter of time before tiles start shifting and cracking. Taking the extra time to prep is well worth it.
Skipping Expansion Joints
Expansion joints might seem like a small detail, but they’re vital in preventing cracks. Without these gaps, tiles can push against each other as they expand and contract, leading to stress fractures. This is especially important in larger rooms or outdoor installations where temperature swings are more extreme.
Inconsistent Grout Lines and Uneven Tiles
Rushed grout work or skipping a leveling system can result in uneven tiles or weak joints. Over time, these inconsistencies can cause the floor to crack or tiles to pop loose. A little extra care during installation makes a world of difference in long-term durability.
Conclusion
Creating a crack-free tile floor is all about planning, precision, and patience. From subfloor prep to proper tile placement, each step builds on the last to deliver professional results. At Carpet Connection, we believe anyone can achieve a beautiful, durable floor with the right guidance and tools. Whether you’re a DIY enthusiast or thinking of hiring a pro, these tips will keep your tile floors looking flawless for years to come. Happy tiling!
1216 S Main Street, Kannapolis, NC 28081

(704) 932- 1929
Hours of Operation
Monday to Friday 8:00 AM - 5:00 PM
Saturday 9:00 AM- 3:00 PM
Sunday : Closed

Email: [email protected]
Phone: (704) 932- 1929
@ Copyright 2026 - Carpet Connection | All rights reserved
Services
Services
RESOURCES
RESOURCES
@ Copyright 2026 - Carpet Connection | All rights reserved